Your bank statement arrives each month — either in the mail or in your inbox — and most people glance at the balance, maybe check for anything suspicious, and move on. But your bank statement is actually a powerful financial document packed with information that can help you catch errors, track spending habits, and stay on top of your finances. Learning to read it properly takes only a few minutes, and the payoff is enormous. Here’s how to understand every section of your bank statement like a financial professional.

Understanding the Basic Structure of a Bank Statement
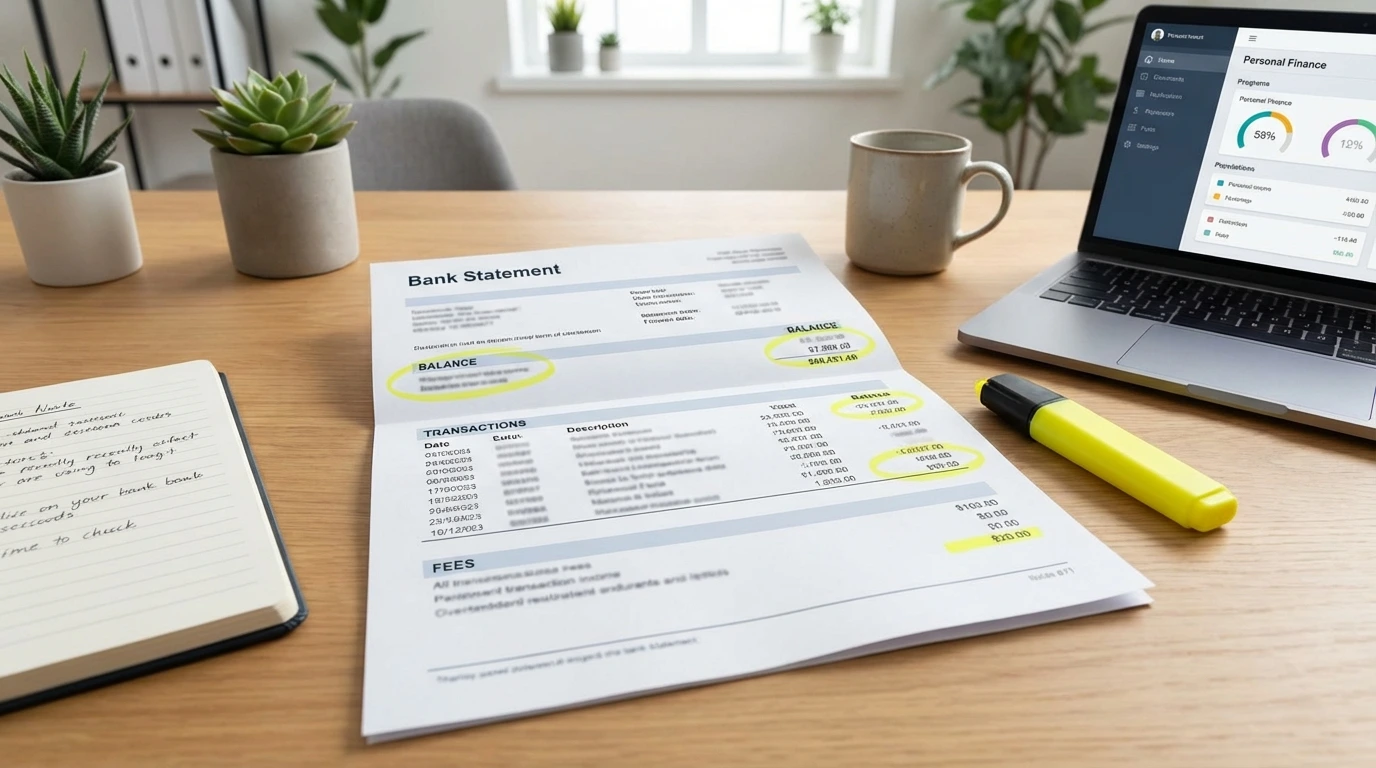
Before diving into individual transactions, it helps to understand what information a bank statement always includes and where to find it. While every bank formats statements slightly differently, the core components are universal.
The Account Summary Section
At the top of your statement, you’ll find the account summary — the big picture view of your account during the statement period. This section typically includes:
- Opening balance: Your account balance at the start of the statement period
- Closing balance: Your balance at the end of the period
- Total deposits and credits: All money added to your account
- Total withdrawals and debits: All money taken from your account
- Statement period: The date range the statement covers (usually one month)
Always verify that your opening balance matches the closing balance from last month’s statement. A discrepancy here warrants a call to your bank.
Account Information Header
The header of your statement includes identifying information: your name, mailing address, account number (usually partially masked for security), and the bank’s contact information. Verify that this information is accurate every time you receive a statement. Identity thieves sometimes redirect statements to a new address as part of a larger fraud scheme.
Statement Period and Cycle
Your statement period typically covers 30 days, but it doesn’t always align with the calendar month. Some banks start cycles on the 15th or the 25th of the month. Knowing your cycle dates helps you track when certain recurring payments will appear on a given statement.
How to Read Your Transaction History
The transaction history is the heart of your bank statement. It lists every movement of money in and out of your account during the statement period, in chronological order.
Debits vs. Credits
Every transaction is either a debit (money leaving your account) or a credit (money entering your account).
- Debits include: debit card purchases, ATM withdrawals, bill payments, checks cleared, bank fees
- Credits include: direct deposits, cash deposits, transfers in, interest earned, refunds
Some banks display debits in red or with a minus sign, and credits in black or with a plus sign. Others simply list the amounts in separate columns.
Understanding Transaction Descriptions
Each transaction has a description — but these can be confusing. Merchant names often appear in abbreviated, all-caps, or code-heavy formats. For example, “AMZN MKTP US*2F7K4” is an Amazon purchase. Common abbreviations include:
- POS: Point of sale (in-store purchase)
- ACH: Automated Clearing House (electronic bank transfer)
- ATM: Cash withdrawal from an ATM
- DDA: Demand deposit account (your checking account)
- PPD: Prearranged payment or deposit (like a recurring bill)
Running Balance Column
Many statements include a running balance column that shows your account balance after each transaction. This is extremely useful for identifying exactly when your balance dropped below a threshold or when a large transaction cleared. If you ever bounce a payment or get hit with an overdraft fee, the running balance helps you pinpoint the exact sequence of events.
Identifying Fees, Interest, and Suspicious Activity
Two of the most valuable reasons to read your statement carefully are catching fees you didn’t expect and spotting fraudulent activity before it causes serious damage.
Common Bank Fees to Watch For
Banks can charge a surprising variety of fees, and many customers never notice them. Look for:
- Monthly maintenance fees: Charged if you don’t meet a minimum balance or direct deposit requirement
- Overdraft fees: Triggered when your balance goes negative
- ATM fees: From using out-of-network ATMs
- Wire transfer fees: For sending money electronically
- Returned item fees: When a check or ACH payment bounces
- Paper statement fees: Some banks charge for mailing a physical statement
If you see a fee you don’t recognize or think was applied in error, call your bank. Banks often waive fees, especially for customers who ask politely and have a good history.
Spotting Unauthorized Transactions
Review every transaction on your statement — not just the large ones. Fraudsters often start with small test charges (under $5) to verify a stolen card works before making larger purchases. Red flags include:
- Transactions from merchants you don’t recognize
- Duplicate charges for the same amount on the same day
- Small recurring charges you didn’t authorize
- Foreign transactions if you haven’t traveled internationally
Interest Charges on Linked Products
If your checking account is linked to a line of credit or overdraft protection, your statement may include interest charges on borrowed amounts. These often appear near the bottom of the statement in a separate section. Pay attention to the interest rate being applied — it’s frequently much higher than a traditional loan.
How to Reconcile Your Bank Statement
Reconciling your bank statement means cross-checking it against your own records to confirm everything matches. It’s the same process accountants use for businesses — and it’s just as valuable for personal finances.
Step-by-Step Reconciliation Process
- Gather your records: Collect receipts, your personal spending log, or budget app data for the statement period
- Match each transaction: Go line by line, checking off each transaction you can verify
- Flag anything unrecognized: Make a list of transactions you can’t immediately identify
- Research flagged items: Google unfamiliar merchant names, check your email for purchase confirmations
- Report discrepancies: Contact your bank for any transaction you cannot verify after research
Using Budgeting Apps to Simplify the Process
Apps like Mint, YNAB, or your bank’s own mobile app can automatically categorize transactions and make reconciliation faster. Many will flag unusual spending or duplicate charges automatically. Even if you use an app, it’s still good practice to review your official bank statement monthly — apps sometimes miscategorize transactions or miss fees.
How Long to Keep Bank Statements
As a general rule:
- Keep statements for at least one year for routine budgeting purposes
- Keep statements for three to seven years if they relate to tax deductions
- Keep indefinitely any statements tied to major financial events (home purchase, large investment, etc.)
Digital statements stored in your bank’s online portal are convenient, but it’s wise to download and save copies yourself in case you switch banks.
Conclusion
Your monthly bank statement is far more than a summary of transactions — it’s a window into your financial health. By understanding the structure of your statement, reading your transaction history carefully, watching for unexpected fees, and reconciling your records, you’ll catch errors early, spot fraud quickly, and gain real insight into your spending habits. This is one of the simplest financial habits you can build, requiring only 15–20 minutes a month. Make it a routine, and over time you’ll find that reading your bank statement gives you a sense of control and confidence over your money that no app or shortcut can fully replace.
Read more at https://en.icardin.com/
